

Photographing a Giant
I’ve been doing a lot of astrophotography using my Seestar S50. I call the S50 a “gateway drug” into astrophotography because now I have invested in cameras and other equipment to try my hand at imaging and processing like the pros.
Taking pictures of solar system objects involves a different process than deep sky objects like galaxies and nebulas. With the S50 you have a wide field of view (FOV) that makes taking planetary images extremely difficult if not impossible. So in order to get decent images, one must approach it with some planning and care, but it’s not all that difficult, truly! Let me show you what I mean.
The Plan
So the first thing I do is decide what I want to image. Right now Jupiter is nice and bright in the sky, and is really set up as a nice target, so that’s what I went for.
Next I loaded up Stellarium, a free online skymap (which will get it’s own blog post in the future). I found Jupiter in the map for my area and time of night, and zoomed into it until I could see the features on the planet. I then started moving the clock forward in time until I noticed that the Great Red Spot was nice and up front, which was around 8:30pm EST.
Astrospheric is a great website/app to check your seeing for the evening. We had a clear night, but the seeing was going to be slightly below average. Still not bad for our light-polluted area. So I had a target, a time, and good weather.
The Gear
I’m using the first “real” telescope I purchased years ago:
Orion SpaceProbe 130ST
Skywatcher HEQ-5Pro mount
ZWO ASI662MC Planetary Camera
Bluetti portable battery
Software: FireCapture, AutoStakkert!4, waveSharp 3
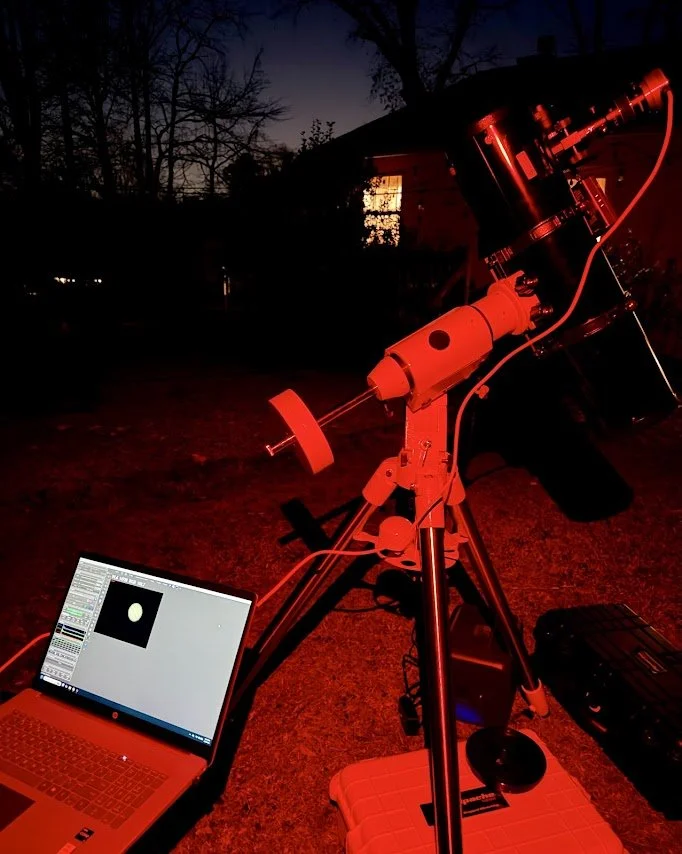
The Setup
Imaging
Jupiter has a rotation rate of almost 10 hours. This means you cannot take long exposures of it like one does for deep sky objects. you want to take a video no longer than 2 minutes, with 1-1.25 minutes being optimal, especially as a beginner. The reason for this is that the rate of rotation will cause blurriness in the cloud bands if you have an exposure longer than that. With a video, you end up with a BUNCH of frames that you can then stack and process.
I used FireCapture to get my videos, but there are many other software types out there, including ZWO’s own ASIStudio. When I first fired up the camera I had a black image on the screen. I had to play with the gain and turn it up quite high in order to get an image to appear. Once I had an image I proceeded to work on focusing. I do not have an Electronic Auto-Focuser, and I have recently broken my Bahtinov mask, so I did it the old-fashioned way with small incremental movements of the focusing knob and hoping my eyes were working ok.
I took about 6 different 2-minute videos. I chose one of the videos and opened up AutoStakkert!4. There are a multitude of helpful videos and tutorials online that you can use to help you with getting your video turned into a stacked image, including this one.
Once I had my stacked .tiff, I then proceeded to waveSharp and proceeded to process my image (check out a good lesson here).
After all of this, here is what I ended up with:
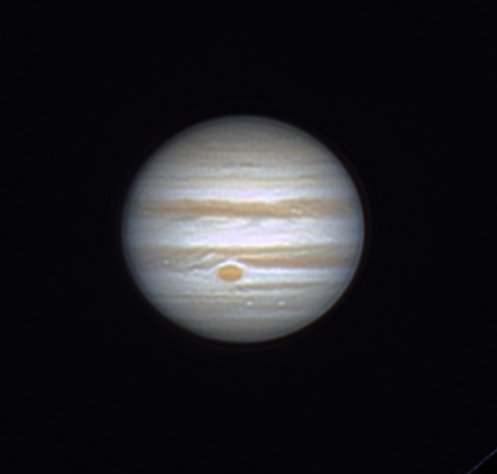
By Jove! It’s Jupiter!
It’s not the best photo out there by any means, but it’s my photo. This was just an image from one of the videos I took, and the seeing this evening was below average in the light-polluted metro Atlanta area. So overall I am pleased with this! With a larger diameter telescope I could get much better images, but I need to save up for that so I might as well practice with what I have first!
I hope you enjoyed this, and good luck with your own processing!
Get out and look up!